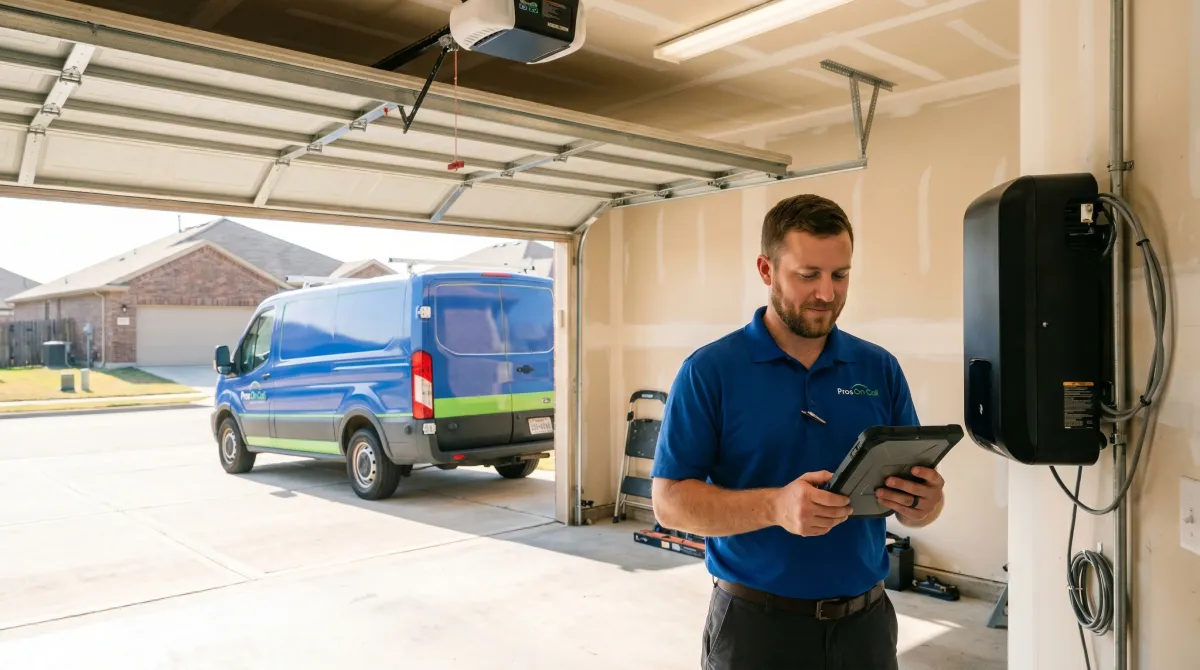
Installing a garage door opener is one of those projects that looks simpler on the box than it turns out to be in your garage. The box might say "easy installation," but what the box does not mention is the door that is slightly out of balance, the ceiling joists that do not align with the ideal bracket position, or the wiring run that crosses three separate framing bays. Across Texas, where garages range from compact urban townhome bays in Austin to wide three-car setups outside San Antonio, the variables multiply fast. This guide walks through every step a professional follows, in order, so you can understand exactly what the job involves and why the details matter.
Need professional garage door opener installation in Texas? Call Pros On Call at (888) 601-6005. Expert installation, all brands, lifetime support. License #B19847.
Pre-Installation Steps (Steps 1-10)
Before a single bracket goes up, a professional spends real time diagnosing the existing door and the space it operates in. Skipping this phase is the single most common reason DIY installs fail or create safety hazards. A door that is out of balance, for instance, will overwork a new motor unit within months. The pre-installation assessment determines the right opener for the door, confirms the electrical and structural situation, and catches any problems that need to be corrected before the opener goes in. In Texas heat, where a garage can reach temperatures that stress components quickly, choosing the right horsepower and confirming proper clearances is not optional.
- Inspect existing garage door condition
- Test door balance and spring tension
- Verify door weight and size
- Select appropriate horsepower opener
- Confirm electrical outlet location
- Measure headroom and backroom clearance
- Check header board strength
- Gather tools and materials
- Read manufacturer instructions
- Plan cable routing and sensor placement
Door balance deserves special attention here. A properly balanced door should stay put when you lift it halfway and let go. If it drifts up or crashes down, the spring tension is wrong, and installing an opener on an unbalanced door transfers excessive load onto the motor and the trolley arm. Fixing the balance before touching the opener is not extra work; it protects the investment and keeps the door operating safely for years.
Headroom and backroom measurements are equally important and often overlooked. Standard openers require a minimum of around ten inches of headroom above the door's highest travel point. Tight garages in older Austin homes or converted spaces sometimes fall short, requiring a low-clearance bracket kit. Measuring before ordering avoids a wasted trip back to the supply house.
professional installation guarantees proper setup, safety compliance, and warranty protection
Assembly and Mounting (Steps 11-20)
With the pre-installation checklist cleared, the physical build begins. The assembly and mounting phase is where the structural integrity of the whole system gets established. A motor unit that is mounted slightly off-level will produce vibration, noise, and accelerated wear on the drive mechanism. In Texas, where garage doors cycle frequently because of the climate control difference between the interior and exterior, that wear adds up fast. Getting the rail straight, the bracket anchored securely, and the motor unit at the correct angle are not cosmetic details; they determine how the system performs over its entire lifespan.
- Assemble rail/trolley system
- Attach motor unit to rail
- Mount header bracket to wall above door
- Install support brackets on ceiling
- Secure motor unit to support brackets
- Verify level installation
- Connect emergency release mechanism
- Install chain/belt/screw drive
- Adjust drive mechanism tension
- Secure all mounting hardware
The header bracket placement at step 13 is particularly critical because it anchors the front of the rail directly above the door's center. The bracket transfers a meaningful share of the opener's operating force into the wall framing, so the header board behind the drywall needs to be solid. In homes where the framing is marginal, a professional will add blocking before mounting. The emergency release at step 17 also gets checked carefully: the red cord needs to be positioned low enough to reach from the floor in case someone needs to manually open the door during a power outage.
Drive type selection, which happens during the pre-installation assessment but gets installed here, affects how the system sounds and how it needs to be maintained. Belt drives are quieter and suit attached garages where noise carries into living spaces. Chain drives are more economical and highly durable for heavy doors. Screw drives are mechanically simple but can be affected by temperature swings, a real consideration in South Texas where seasonal ranges are wide.
Door Connection (Steps 21-26)
Connecting the opener to the door itself is more nuanced than it appears. The trolley arm is an adjustable linkage between the moving trolley on the rail and a bracket on the door panel. The geometry of that arm, specifically the angles it makes at full open and full close, determines whether the door travels smoothly or binds, whether the top panel flexes under stress, and whether the opener's limit settings will hold reliably over time. Professional technicians set the arm length and attachment point based on the door's specific lift pattern, which varies between standard lift, high lift, and vertical lift configurations.
- Locate door center point
- Install door arm bracket
- Connect trolley arm to door bracket
- Verify arm angles and clearance
- Test manual door operation with arm connected
- Adjust arm for smooth travel
The manual operation test at step 25 is a quality checkpoint that many DIY installs skip because it requires disconnecting the motor and physically lifting the door through its full travel with the arm attached. What you are checking here is whether the arm geometry introduces any binding or side-load that was not present before the opener was connected. If the door suddenly feels heavier or catches at a certain point in its travel, the arm angle or bracket position needs adjustment before the motor takes over. Catching that in manual mode costs a few minutes; discovering it after the motor is wired means working backwards through several steps.
Electrical and Sensors (Steps 27-31)
The electrical portion of a garage door opener installation is straightforward compared to heavier electrical work, but it has safety implications that make accuracy non-negotiable. The low-voltage wiring to the wall button and sensors must be run cleanly, without sharp bends that damage the wire insulation and without any connections that can come loose from door vibration over time. The photoelectric safety sensors at the bottom of the door are mandated by federal safety standards and must be installed correctly: if a beam is misaligned or the wiring is reversed, the auto-reverse function will not work as intended.
- Run wiring to wall button location
- Install and wire wall control button
- Mount photoelectric sensors at door bottom
- Wire sensors to motor unit
- Verify sensor alignment and LED indicators
Sensor alignment is confirmed by watching the LED indicators on both the sending and receiving units. A solid light on both sides means the beam is clear and unobstructed. A blinking or absent light means the sensors are out of alignment or something is crossing the beam path. Common causes include a beam that is too close to the floor and gets tripped by debris, or brackets that have been nudged slightly during the door connection phase. Correcting alignment at this stage takes minutes; discovering a non-functional auto-reverse only when something gets caught under the door is a safety failure that the installation process exists to prevent.
In Texas, where garages are frequently used as workshops, storage spaces, and pass-through areas for kids and pets, a properly calibrated auto-reverse is not a formality. It is the primary mechanical safety feature protecting anyone near the door.
Final Testing and Adjustment (Steps 32-33)
The last two steps are where the system gets tuned to the specific door it is operating. Limit settings tell the opener how far to travel in each direction before stopping. Force settings determine how hard the motor pushes before deciding something is wrong and reversing. Both need to be calibrated to the actual door, not to a factory default that was set for a hypothetical average door on a test rig.
- Program opener settings (limits, force, speed)
- Test all safety features and auto-reverse
Limit calibration is done by running the door through several complete cycles and watching the behavior at each endpoint. The door should stop cleanly at the floor without the trolley grinding against the motor unit, and it should open to the full travel height without over-running. Force calibration is verified with the auto-reverse test: place a two-by-four flat on the floor in the door's path and let it close. The door must reverse upon contact. If it does not reverse immediately, the force setting is too high and needs to be reduced. This test is not optional; it is the final safety confirmation that the entire installation has been done correctly.
After all 33 steps are complete, a professional will also verify that all remote controls and keypad codes are programmed, that the manual release works properly, and that there is no unusual noise or vibration during a full cycle. That final walkthrough is when small issues, a loose mounting bolt, a drive that needs a half-turn of tension adjustment, or a sensor that drifts slightly during operation, get caught before the homeowner takes over.
The 33-step process exists because garage doors are the largest moving mechanical objects in most homes, and they carry real injury risk when installed incorrectly. Professional installation is not just about convenience; it is about having someone accountable for getting every step right, from the pre-installation assessment through the final safety test.
Professional installation ensures safety and performance. Call Pros On Call at (888) 601-6005 for expert garage door opener installation throughout Texas. License #B19847.
Content strategy and SEO by Optymizer